OBS! Du kommer in i bios genom att trycka på ESC upprepade gånger när datorn startas.
Det är bäst att trycka flertalet gånger snabt under uppstart för att vara säker på att BIOS menyn aktiveras.
Man har ca. 2-3 sekunders på sig att fånga detta under POST-processen.
Secure Boot settings for commercial notebooks and workstations
Use the BIOS settings to enable or disable Secure Boot on an HP commercial notebook or workstation computer.
BIOS interface might vary depending on the computer series.
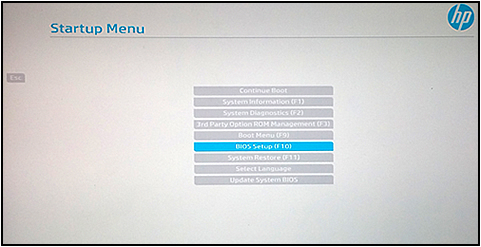
Select BIOS Setup (F10), and then press enter.
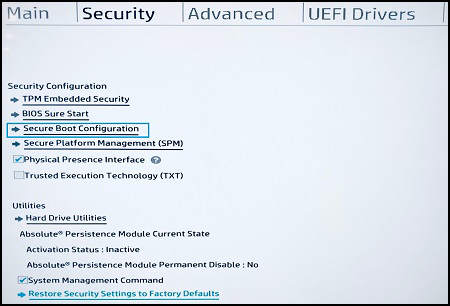
Select the Security tab, and then select Secure Boot Configuration.
Note:If you do not see the Secure Boot Configuration option, update your computer to the latest BIOS.
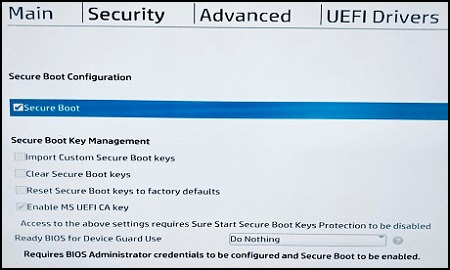
In the Secure Boot Configuration window, select the Secure Boot box to enable Secure Boot, or clear the Secure Boot box to disable it.
If you enabled Secure Boot, select the Main tab, select Save Changes and Exit, and then click Yes to confirm the change.
If you disabled Secure Boot, continue to the next step.
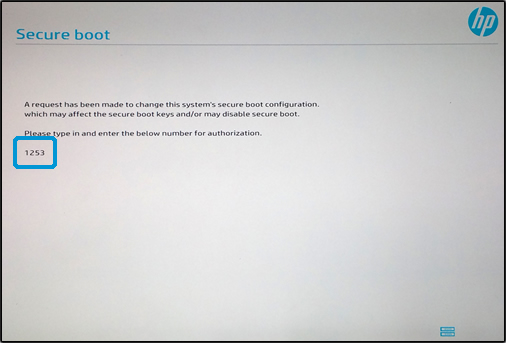
Type the PIN, and then press enter.
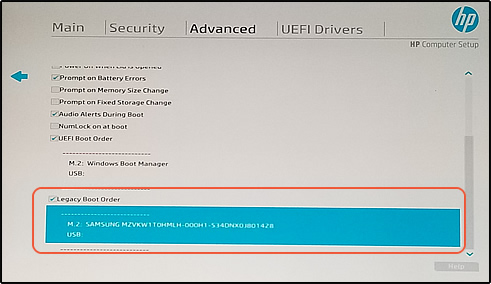
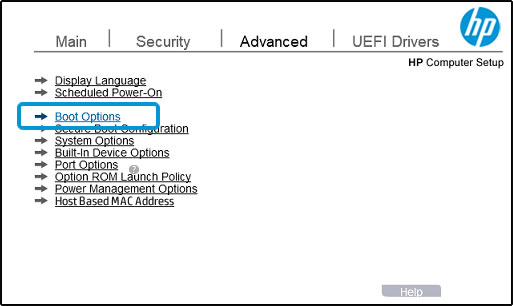
Select the Advanced tab, and then select Boot Options.
Under Legacy Boot Order, select a boot device, and then press enter.